Cereal Killers Latest Crime: Fowlest Teriyaki Rice Bowl

May 19, 2022

Sometimes your fowls might be stepping out of line, making moves that just ain’t right. Remind them what the pecking order is with this chicken dish paired with local vegetables and Teriyaki sauce resting on a bed of rice. That’ll show ’em who’s boss of the kitchen.

Ingredients

  • 3 chopped carrots
  • 1 chopped zucchini
  • 3-4 green onions
  • 8 chicken tenders
  • 1 large broccoli crown
  • 1 box of white rice
  • Teriyaki sauce
  • Vegetable oil
  • Garlic powder
  • Salt

Instructions

  1. Chop up the carrots, zucchini, and green onions, placing them in separate groups. Tear off pieces of broccoli from the crown as desired.

2. Chop up the chicken into bite-sized pieces.

3. Pour the rice into a bowl, add the appropriate amount of water, and microwave for 8 minutes.

4. Pour vegetable oil into a skillet/frying pan, turn the stove up to high, and then throw the chicken in, cooking it until it turns a light brown. Add garlic powder and salt for additional flavor. Remove from skillet and put in bowl when done.

5. Pour vegetable oil into a second skillet/frying pan, heating it up to high as well, and throwing in the carrots, zucchini, and broccoli, cooking until they turn soft. Sprinkle in pinches of salt and garlic powder as they’re cooking.

6. Add chicken to the vegetable skillet when they’re almost done cooking, cooking it all together for a bit before adding the Teriyaki sauce.

7. Remove the bowl of rice from the microwave, adding the vegetables and chicken on top. Add additional Teriyaki sauce, and sprinkle on the green onions. Plate and serve.

Criminal Ratings

  • Taste: 8/10
  • Mouthfeel: 9/10
  • Smell: 10/10
  • Visual Appeal: 9.5/10
  • Creativity: 6/10

Comments Off on Cereal Killers Latest Crime: Fowlest Teriyaki Rice Bowl

Wacka Flocka Flava: Summertime Pasta Primavera

May 19, 2022

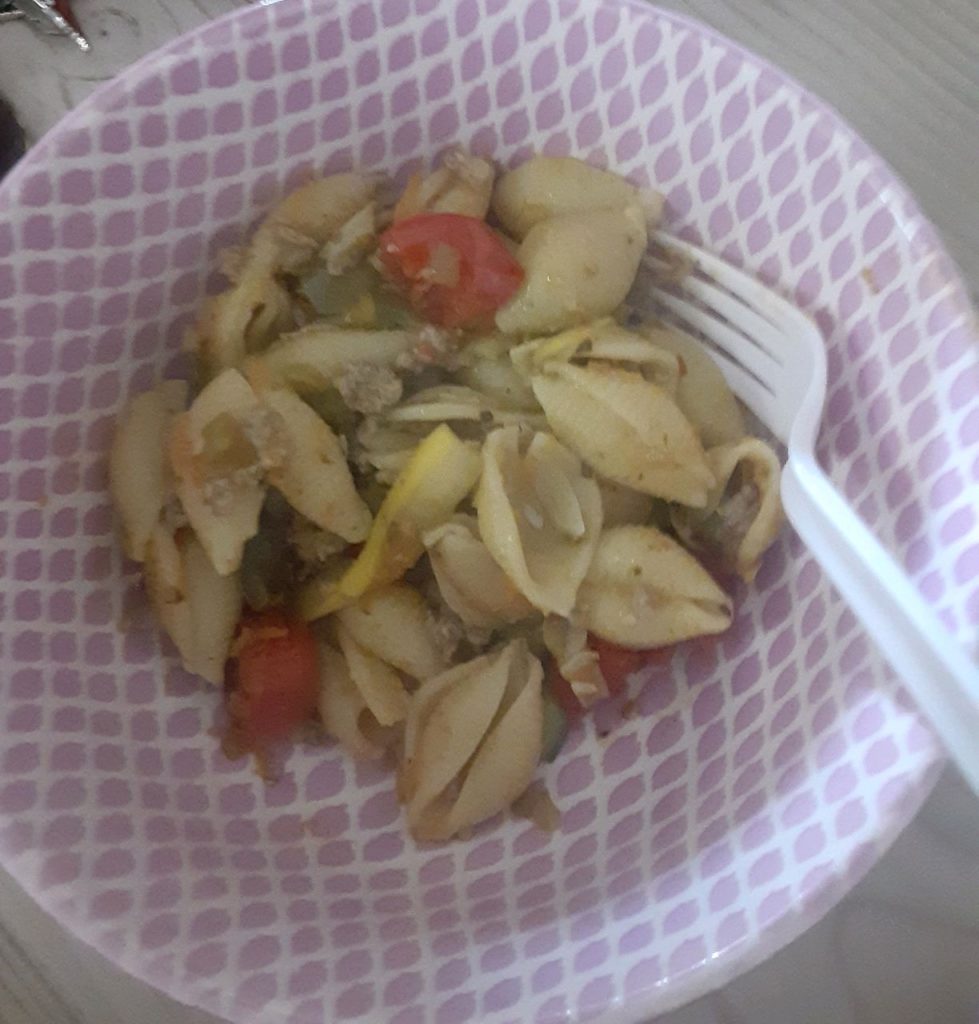
 This pasta primavera is perfect for a hot summer day. This dish is extremely colorful and matches the colorful summertime aesthetic, making it Instagram worthy. It would be perfect to take to gatherings or to meal prep for the week. The meats and vegetables used in this dish can be altered. The smell of this dish will have your mouth watering. This summertime pasta primavera is light, refreshing, and the perfect addition to your recipe book. 

 Below, there is an example of how to make this specific pasta primavera. However, this recipe can be altered and substituted to fit your individual liking, Therefore, the spices, vegetables, and meat are flexible and can be substituted. For example, broccoli could be added in addition to the vegetables listed below or as a substitute. Either way, it is hard to go wrong with this summertime pasta primavera.  

Summertime Pasta Primavera (serves 7-8)

Prep time: 30 min

Cook time: 20 min

Ingredients:

Ground meat (We used turkey, but you can really use whatever ground meat you have on hand.):

1 lb ground turkey

Salt, Onion powder, Garlic Powder (to taste)

Vegetables

Cherry tomatoes (halved)

1 clove of garlic (can be minced)

1 ½  of a zucchini (thinly sliced)

1 yellow squash (thinly sliced)

1 green bell pepper (minced)

3 carrots (peeled and grated)

2 tbsp. Olive Oil 

4 tbsp. Pesto 

2 boxes of salad shell pasta

¼ of lemon juice (We used a freshly squeezed lemon)

Oregano, Parsley, Black Pepper, Red Pepper Flakes, and Salt to taste

Directions:

1. Wash and clean all vegetables.

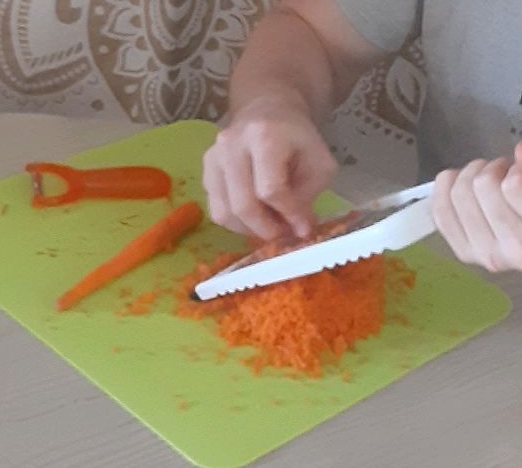
2. Peel and shred carrots

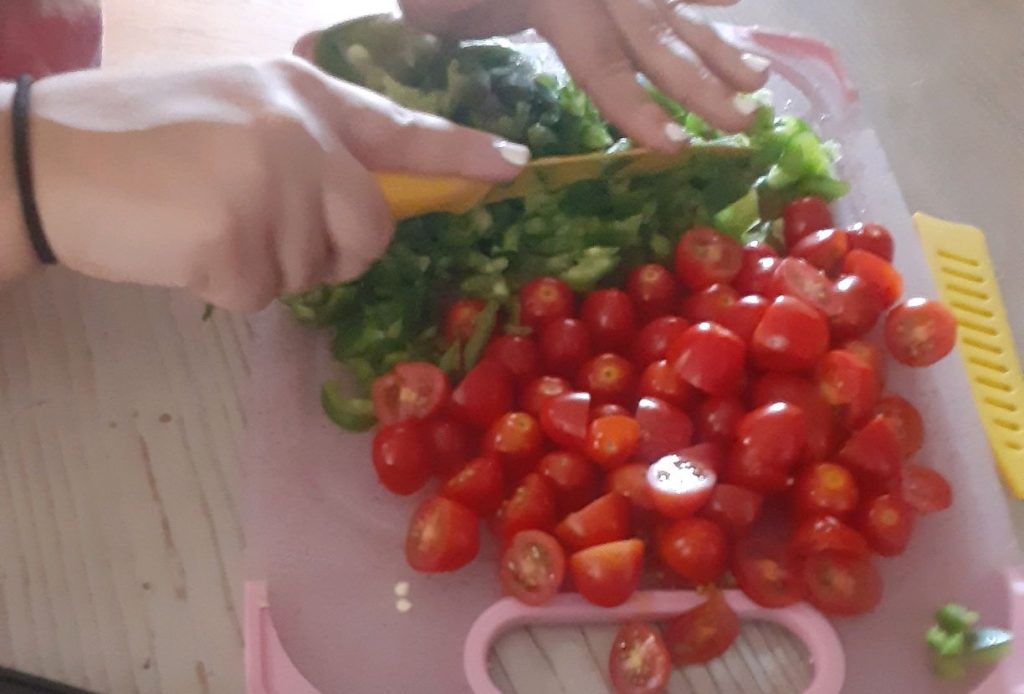
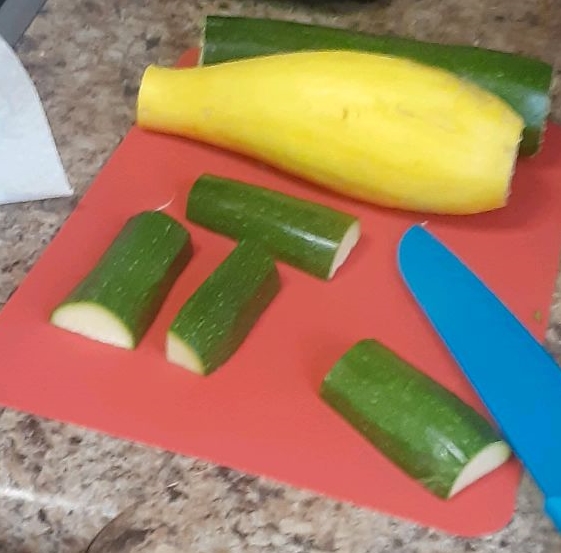
3. Julienne 1 bell pepper, grape tomatoes, 1 ½ zucchini, and 1 yellow squash.

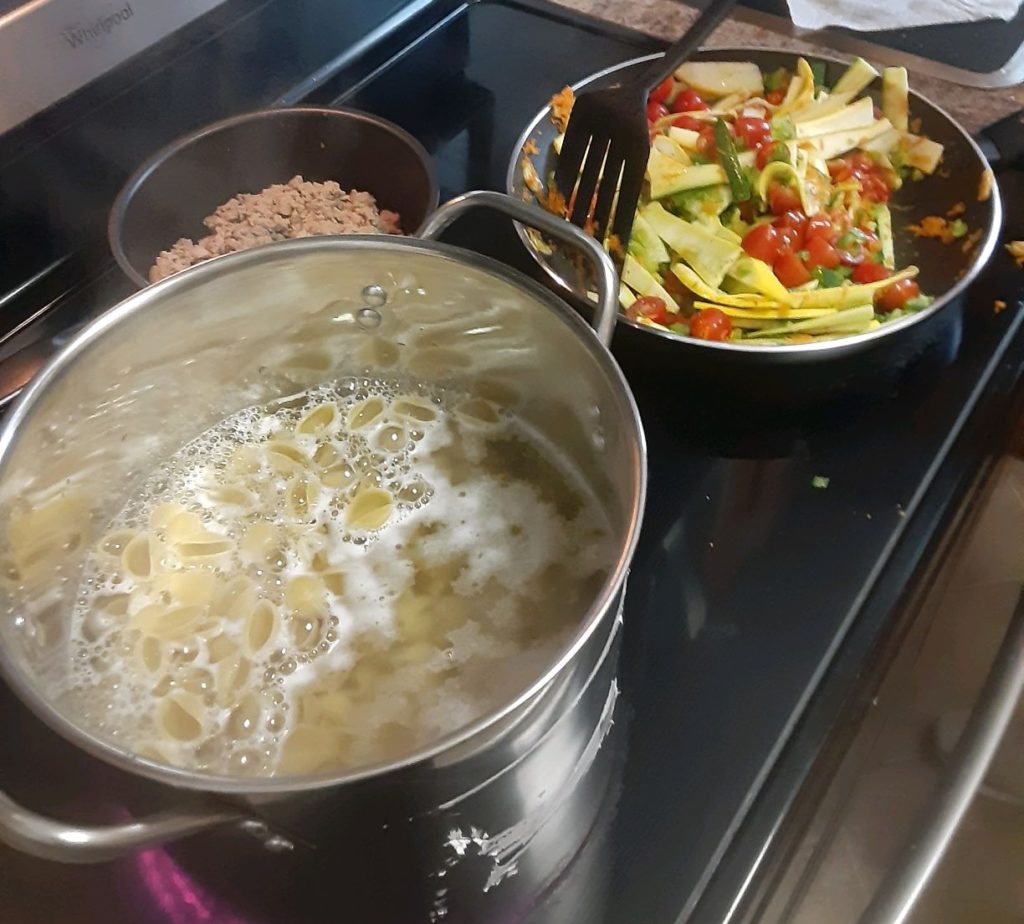
4. Begin boiling water in a large pot for the pasta. Once the water comes to a boil add a pinch of salt and a teaspoon of olive oil before adding the pasta into the pot.

5. Add ground turkey to pan on medium high heat. Once turkey begins to brown, add olive oil, garlic powder, onion powder, salt and pepper to the meat.

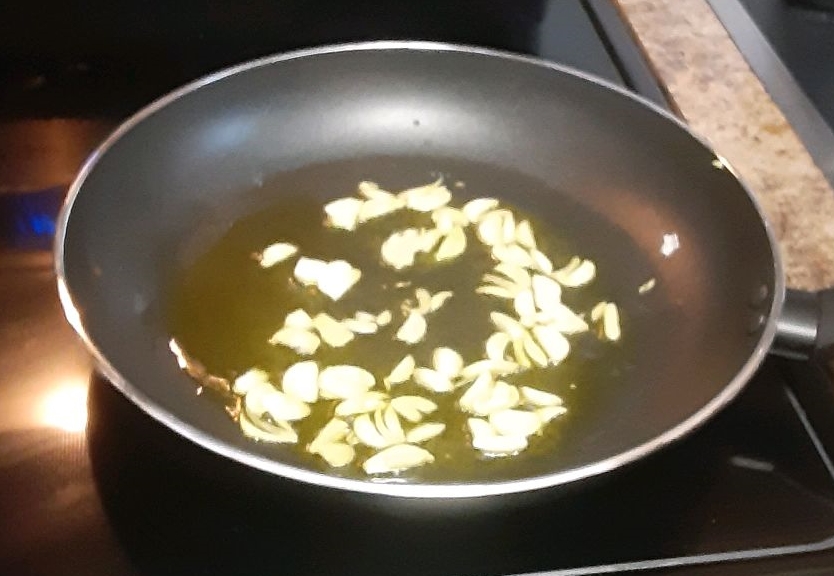
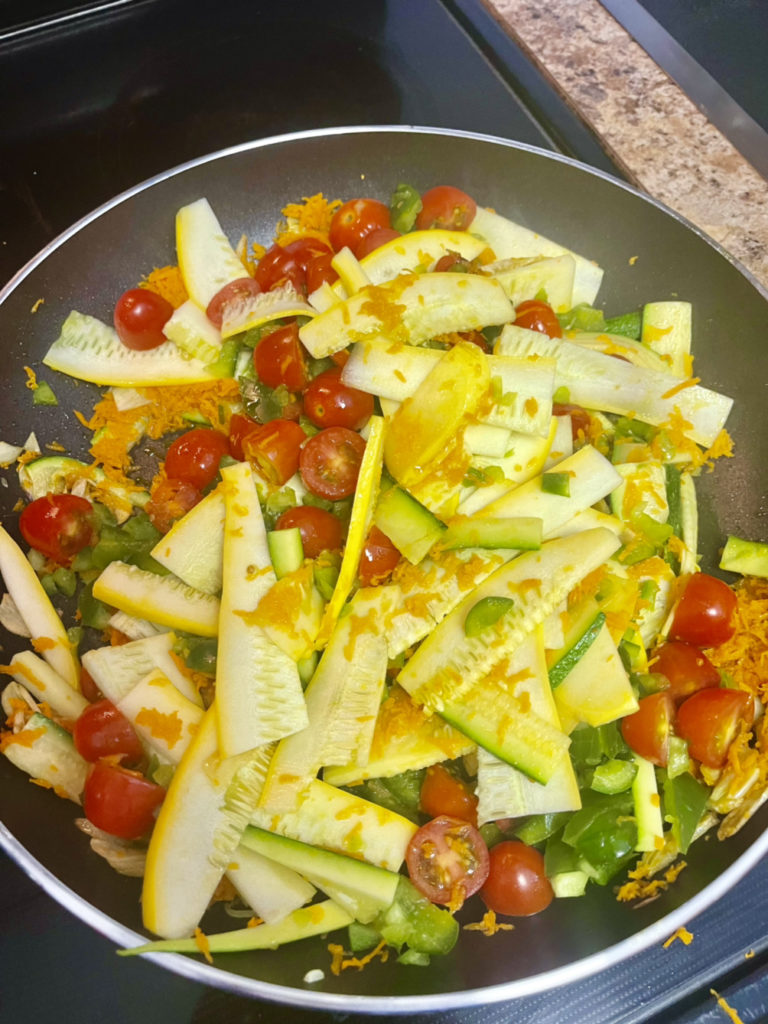
6. Combine olive oil and garlic to a large saucepan and brown the garlic.  Once the garlic is browned, add all chopped vegetables to pan and cook until slightly softened

7. Season the vegetables with salt, pepper, onion powder, garlic powder, red pepper flakes, oregano, pesto, and fresh lemon juice.

8. Once the pasta has reached al dente, drain using a large strainer and then return it to the pot.  Add three tablespoons of pesto and stir until all pasta is lightly coated.

9. Combine ground turkey, vegetables, and pasta and mix well.

Ratings:

Taste: 9

-I think it tasted good but it definitely needed more salt or spices and the veggies needed to be cut up more. This comes with better preparation and practice as well as more tasting and checking of the flavor throughout the cooking process.

Mouthfeel/consistency: 7

-There were multiple different consistencies which enhanced the dish but also slightly decreased the mouthfeel. The al dente noodles were cooked well but there was a texture difference between the vegetables and the meat.

Smell: 10

-Smells like a crisp summer day because of the veggies

Visual appeal: 10

-The look of it was amazing. The vegetables made the dish very colorful, especially combined with the pesto sauce.

Creativity: 9

-I think that we were creative in deciding something that we had not all had before. I think that we could have made an adjustment in the preparation of the meat in the dish.

Comments Off on Wacka Flocka Flava: Summertime Pasta Primavera

Hell’s Kitchen – Chicken Alfredo with Broccoli

May 19, 2022

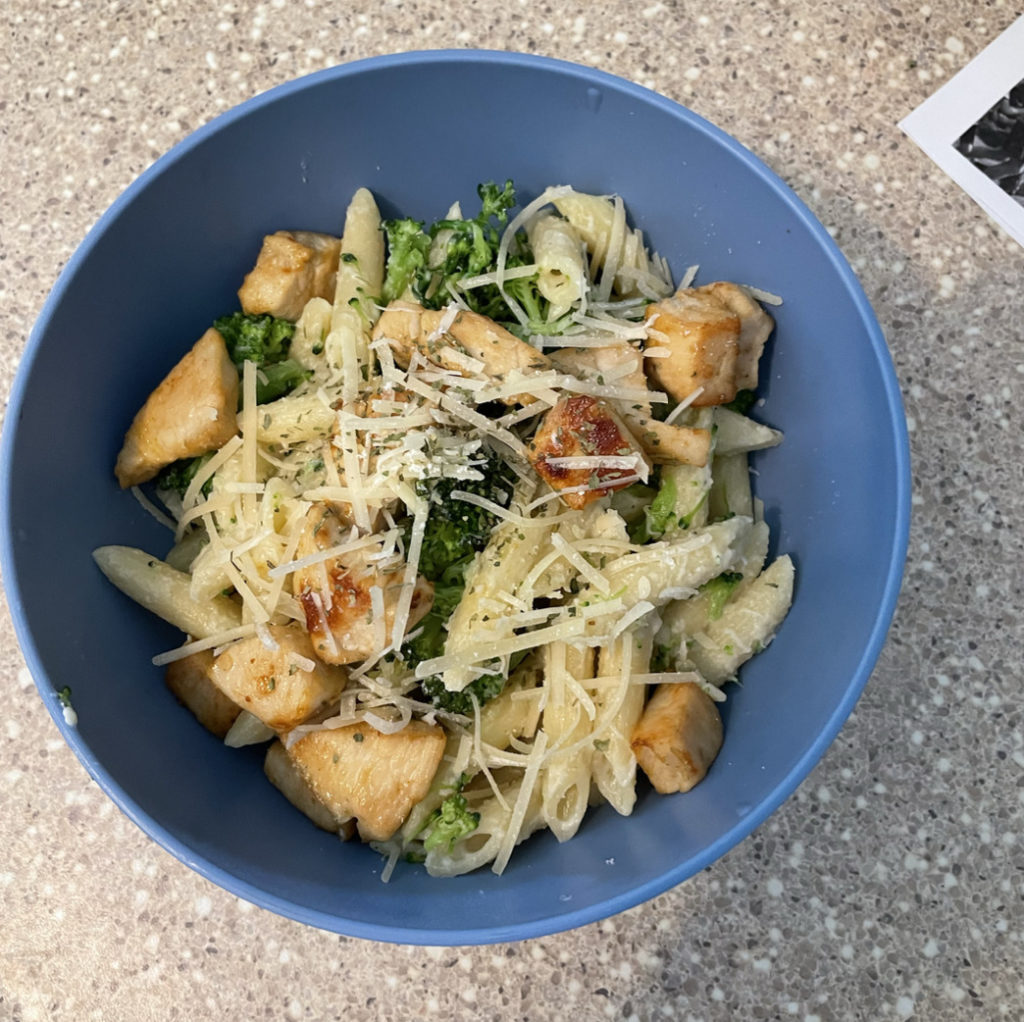
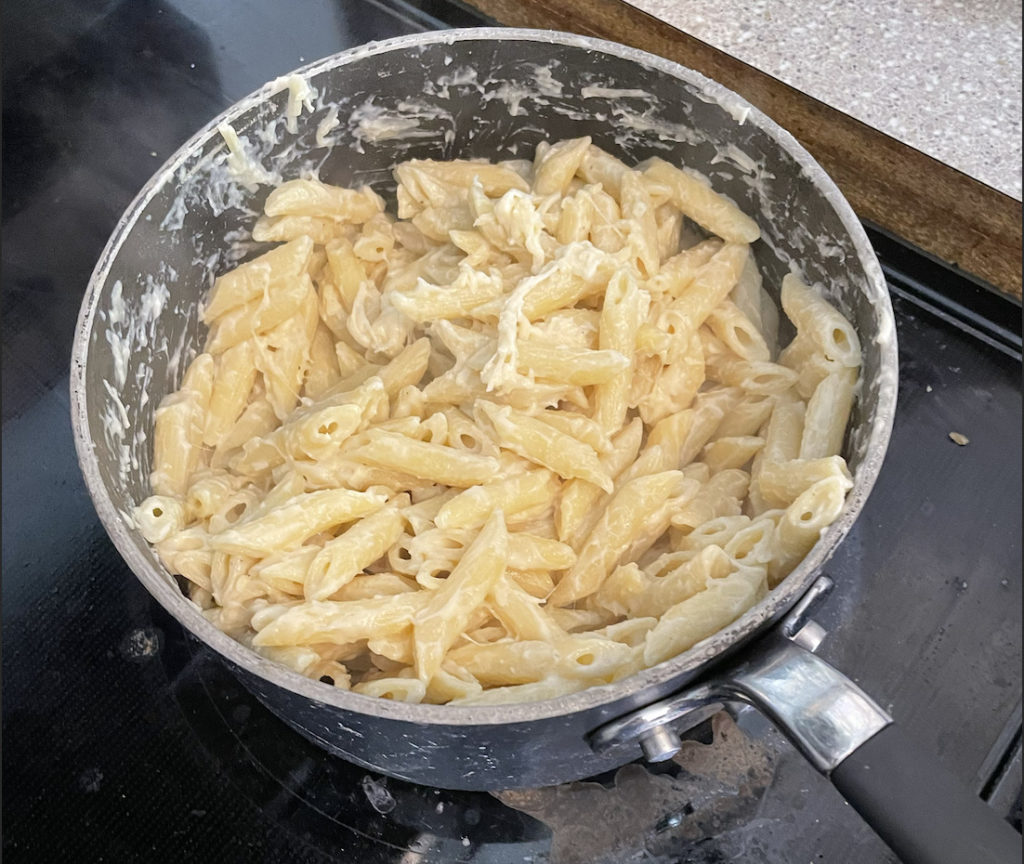
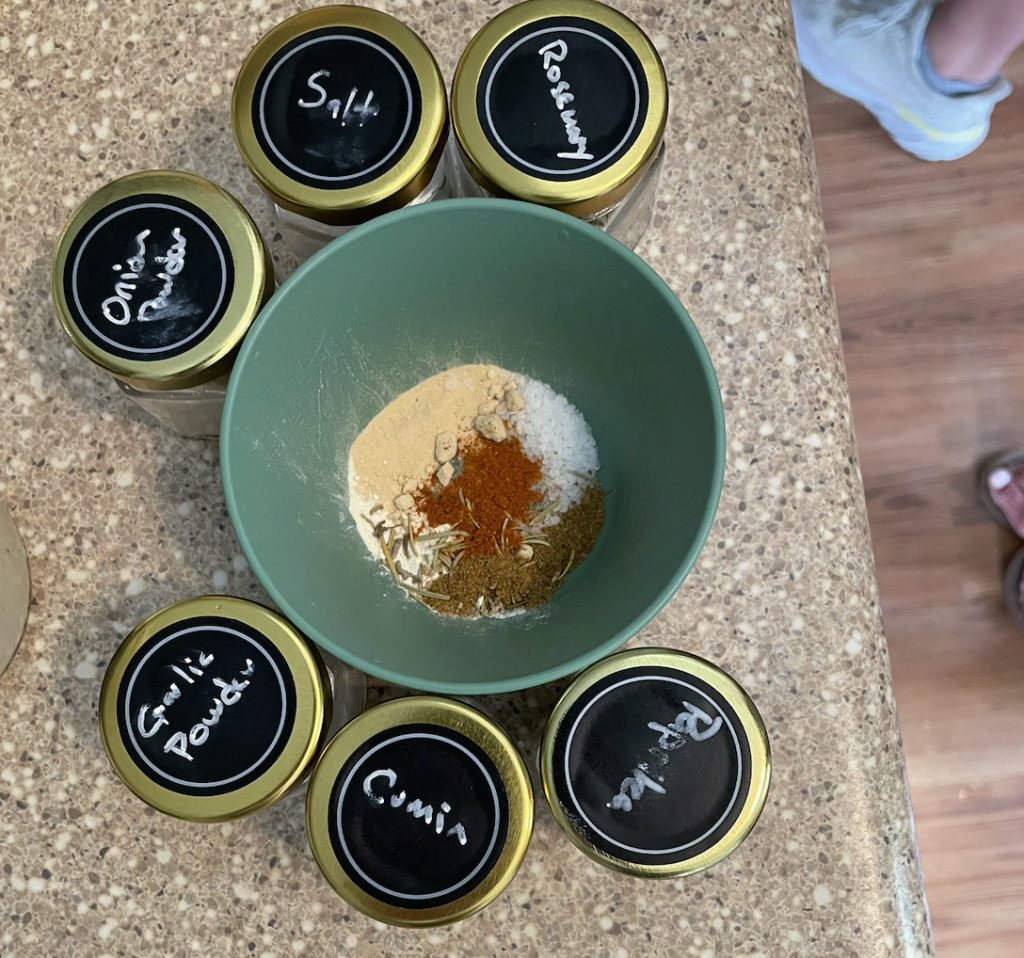
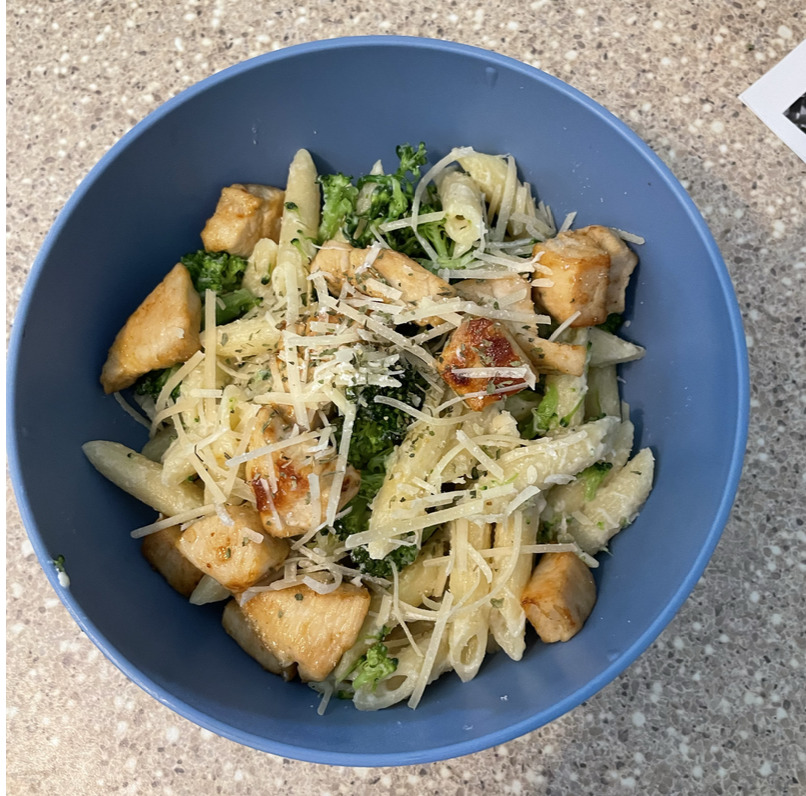
As a team we prepared a classic in the pasta community, this dish is called Chicken Alfredo with Broccoli. We added some unique seasonings to our chicken including rosemary, onion powder, garlic powder, cumin, and paprika. This creative mix of spices makes the chicken really stand out in this dish. The broccoli added color to the dish, it was steamed and added into the pasta along with the Alfredo sauce. Parmesan cheese and parsley were added at the end to top off the dish. This recipe is designed to feed 5 people.
Ingredients:

  • Chicken: 2 breasts
  • Broccoli: 1/2 pound broccoli
  • Pasta: 1 pound
  • Alfredo Sauce: 16 oz
  • Parmesan Cheese: 1/2 cup
  • Garlic Powder: 1 tbsp
  • Onion Powder: 1 tbsp
  • Cumin: 1 tbsp
  • Paprika: 1 tbsp
  • Salt: 1 tbsp
  • Rosemary: 1 tbsp
  • Pepper: 1 tbsp
  • Garnish with parsley
  • Olive Oil: 1 tsp

Directions:

  1. Heat a large pot of water until boiling.
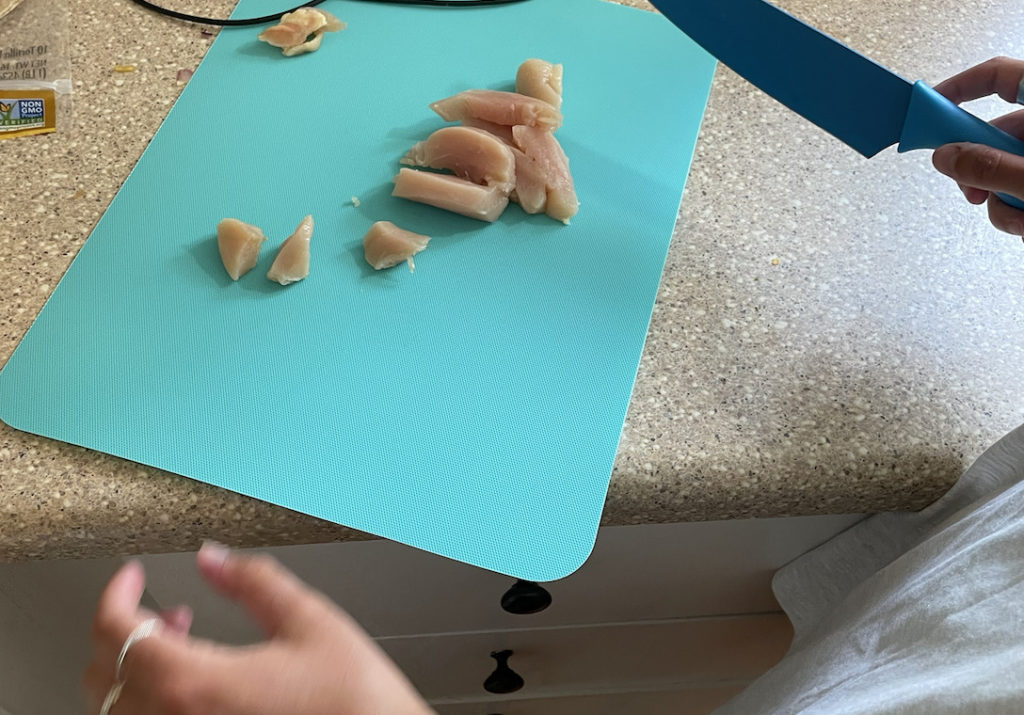
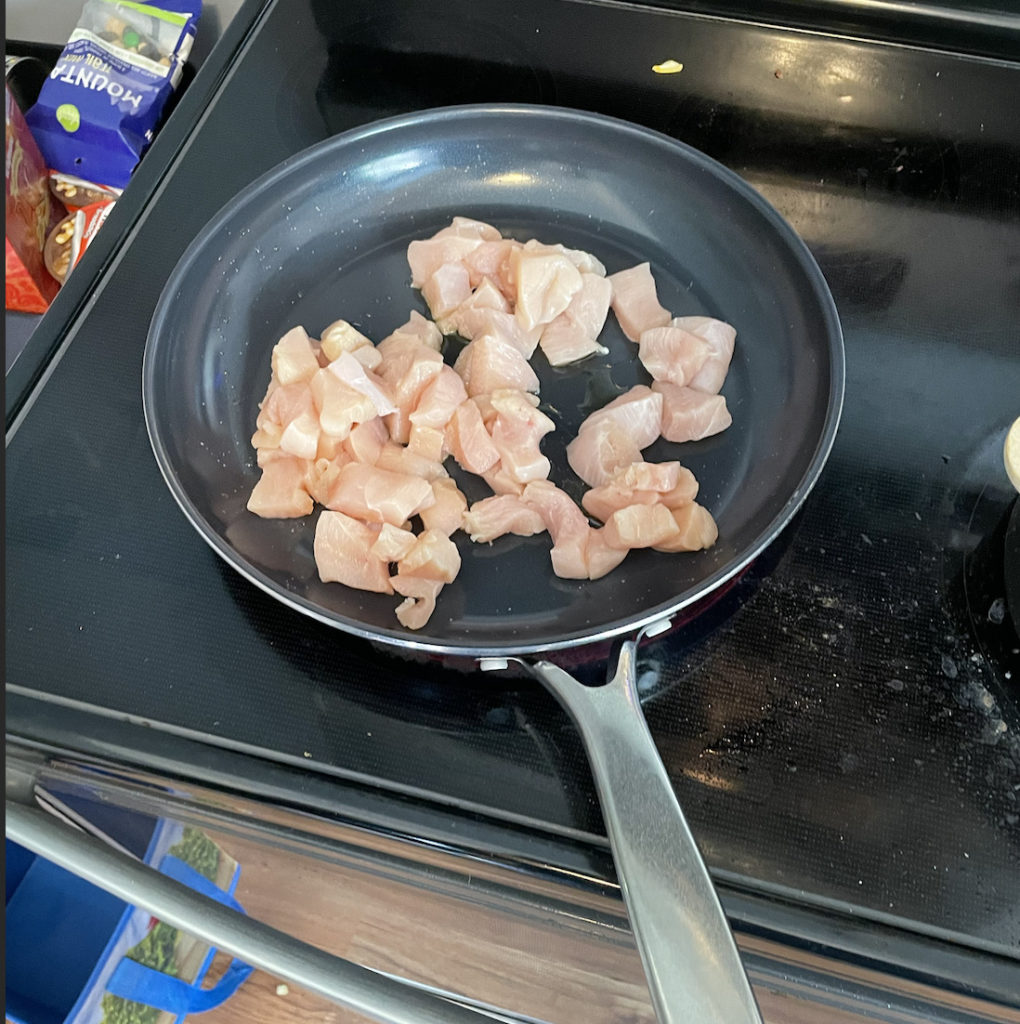
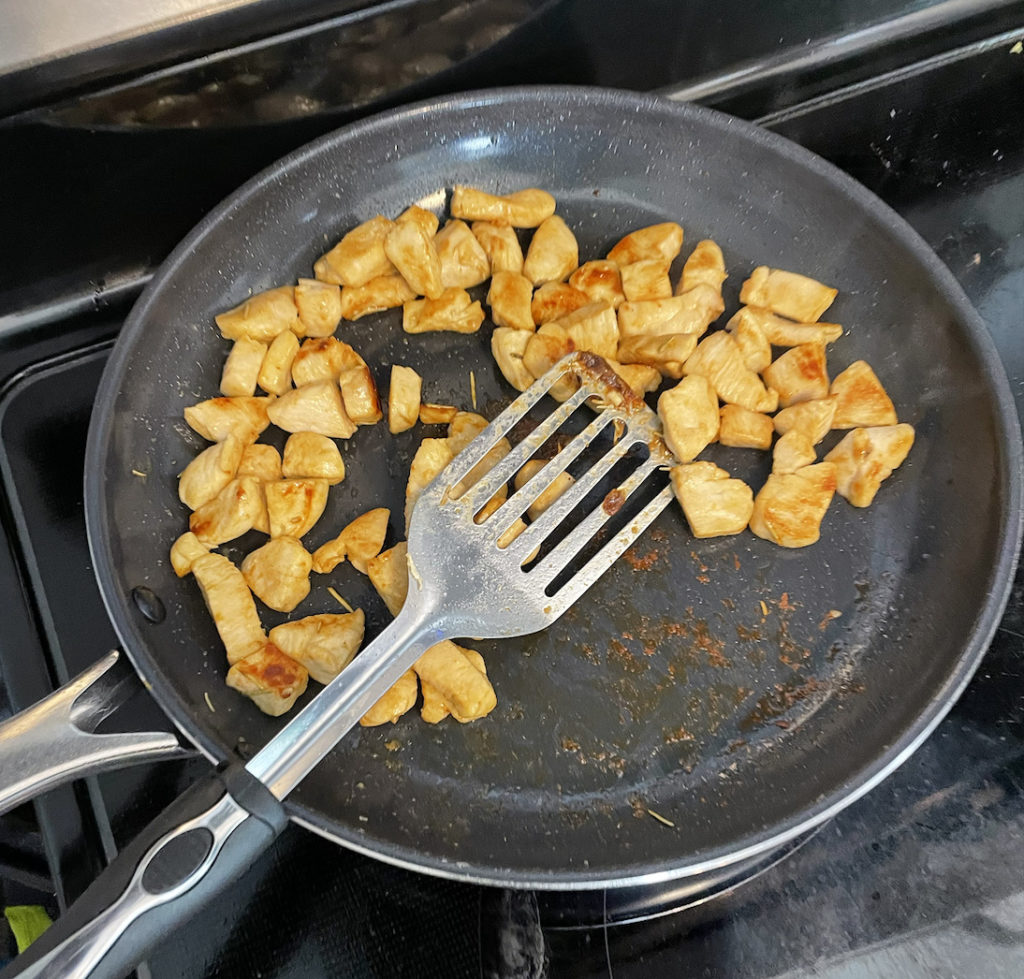
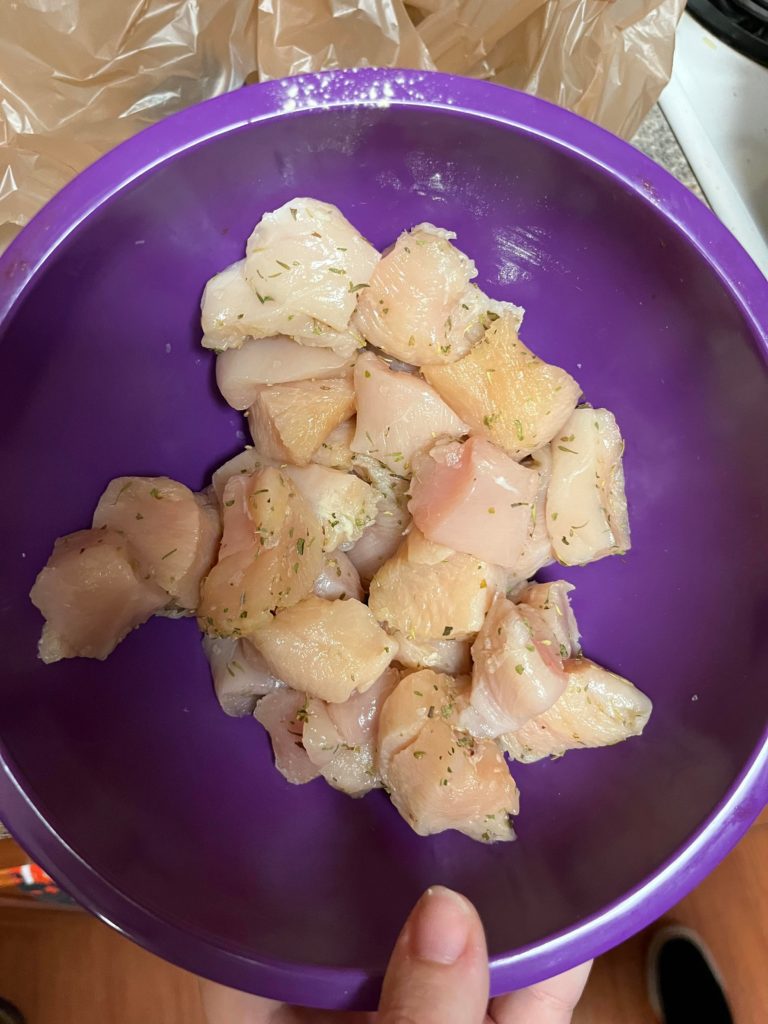
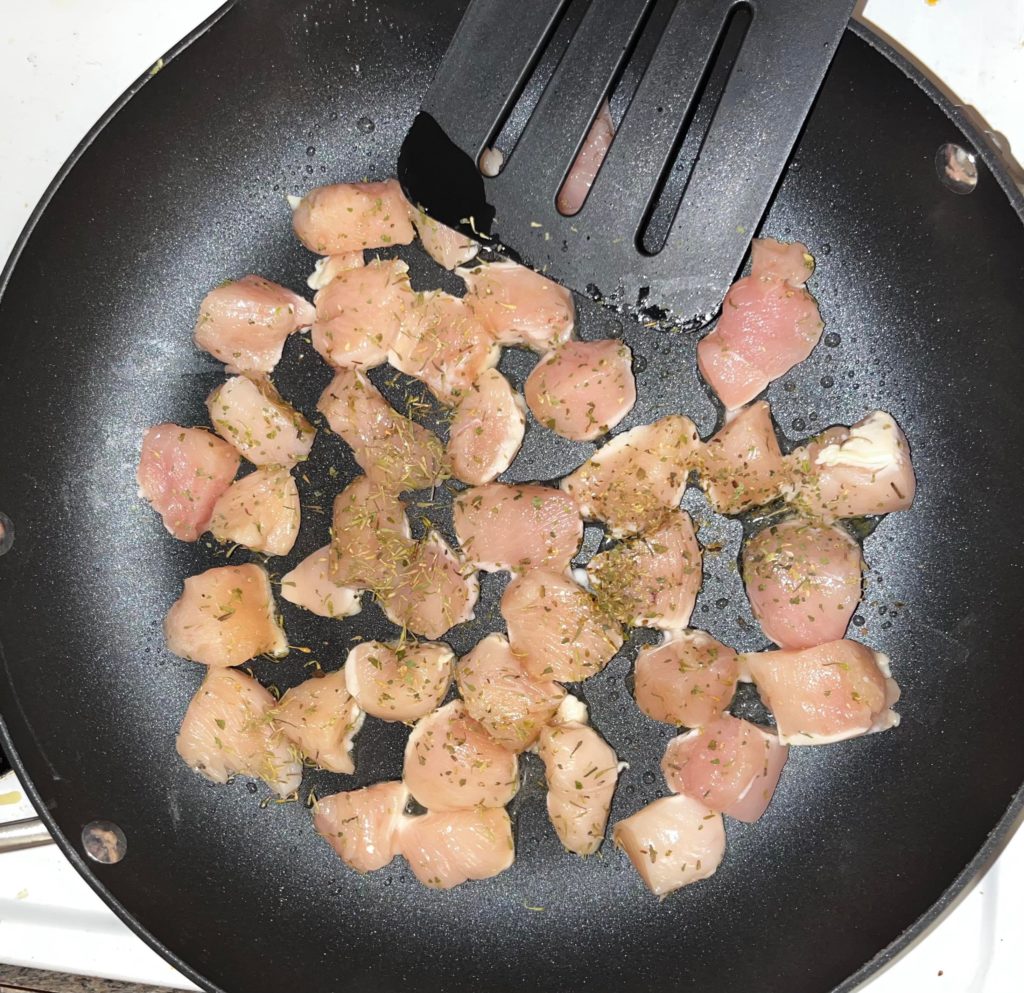
  2. Dice chicken breasts into bite size pieces and mix with seasoning in a pan with a dash of olive oil.
  3. Cook chicken for 10 minutes on medium high or until fully cooked.
  4. Add pasta to water once it is boiling with a pinch of salt.
  5. Cook pasta for 10-12 minutes, or until fully cooked.
  6. Strain pasta once is it cooked and add Alfredo sauce and 1/2 cup parmesan into the same pot and mix on low heat.
  7. Stir pasta until the parmesan is fully melted, then add chopped up broccoli and chicken.
  8. Serve garnished with parsley and shredded parmesan.
  9. Store any leftovers in the refrigerator in an air tight container.

Ratings:

Taste: 7.5/10

Tasted great, chicken could have used more seasoning.

Mouth feel/consistency: 8/10

Everything was cooked to the correct consistency, but overall it could have used more sauce to make it less dry.

Smell: 9/10

The aroma of the chicken smelled delectable, as well as the sauce.

Visual Appeal: 9/10

It was colorful, well garnished, and looked appetizing.

Creativity: 5/10

Classic recipe that we tried to make our own.


Pictures

Comments Off on Hell’s Kitchen – Chicken Alfredo with Broccoli

Foodies: Chicken Alfredo Pasta with Spinach

May 18, 2022

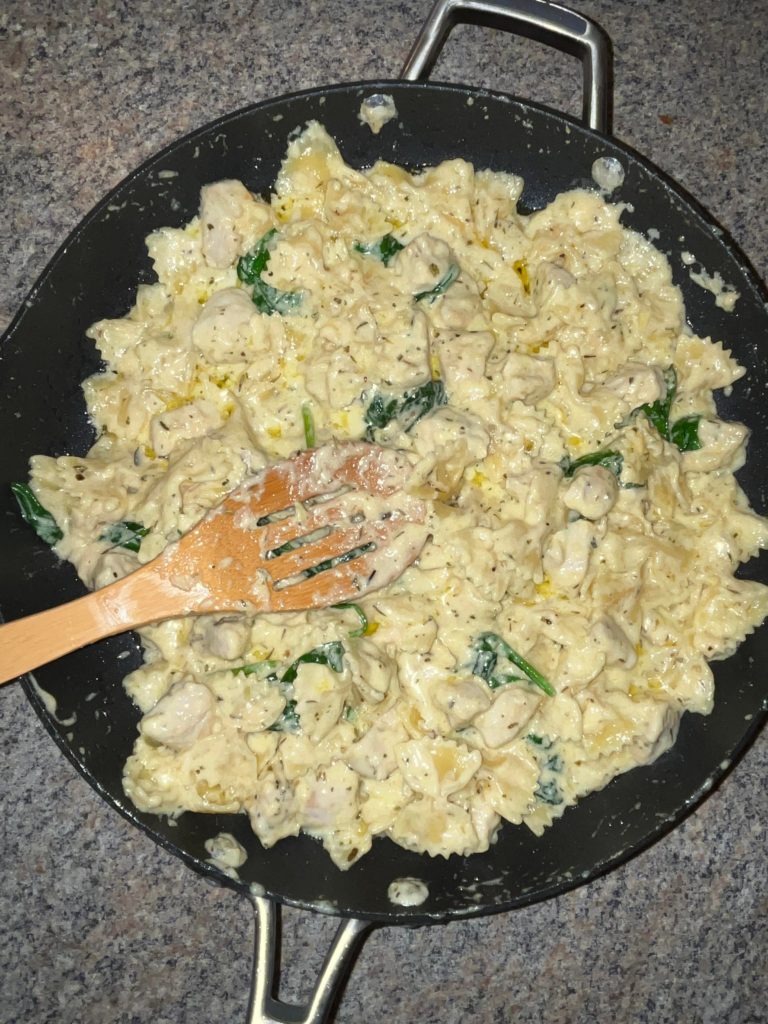
For our lunch meal, the foodies made a chicken Alfredo pasta with spinach. As a group, we wanted to create a dish that was savory and filling and we agreed that pasta dish would be best. The Alfredo sauce is fully homemade from scratch as well as the Italian seasoning that was added into the sauce and the chicken. We also wanted to add a twist to the chicken Alfredo and give it something else, normally people add broccoli to this dish but as a group we wanted to experiment and try spinach. The spinach mixed perfectly with the Alfredo and blended nicely flavor-wise with the chicken. It was able to cook to the perfect consistency to where in still had its original leafy crunch but also integrated well with the creaminess of the meal as a whole.

Ingredients:

  • 1 1/2 teaspoon Italian seasoning
  • 1/2 cup butter (stick)
  • 1 3/4 cups heavy whipping cream
  • 1/2 teaspoon freshly minced garlic
  • 1/2 salt
  • 1/2 pepper
  • 1 1/2 cups grated parmesan cheese
  • 1/2 cup olive oil
  • 1 box of Farfalle pasta (bowties)
  • 2 chicken breasts
  • 1 cup baby spinach leaves (washed)

Instructions:

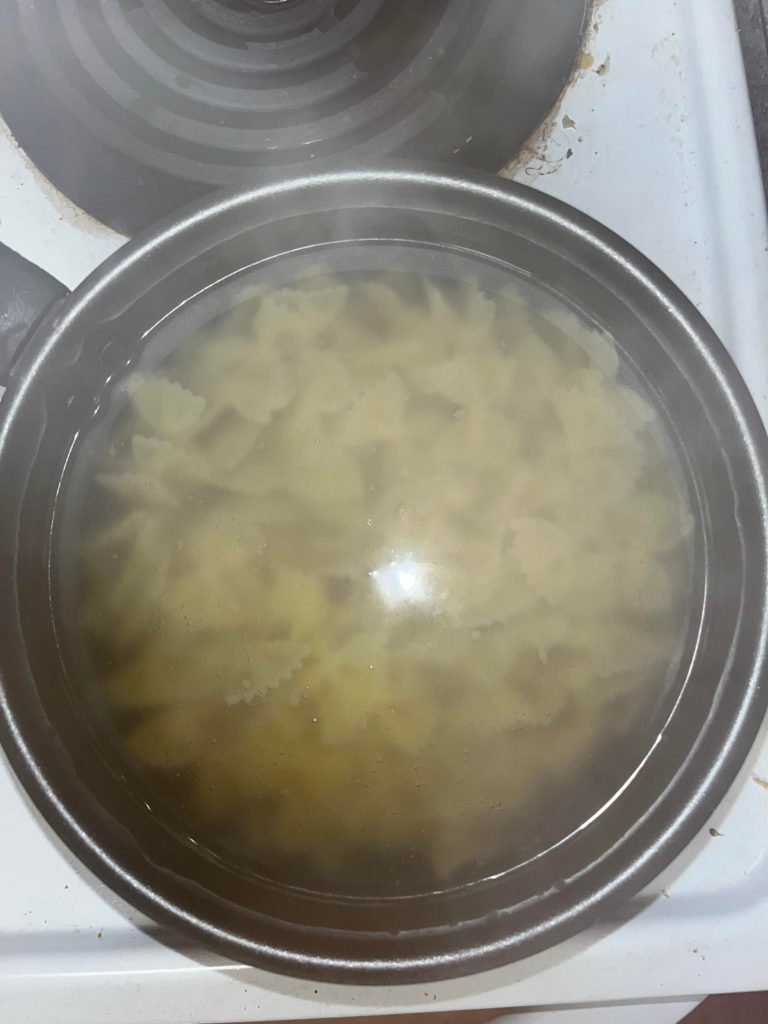
  • In a large pot, set water to boil and add a pinch of salt to the water. Add pasta and cook until al dente (tender but slightly hard).
  • Dice chicken breasts in cubes and place in a bowl. Take 1/2 teaspoon of Italian seasoning and sprinkle it over the chicken and mix it until cubes are lightly covered.
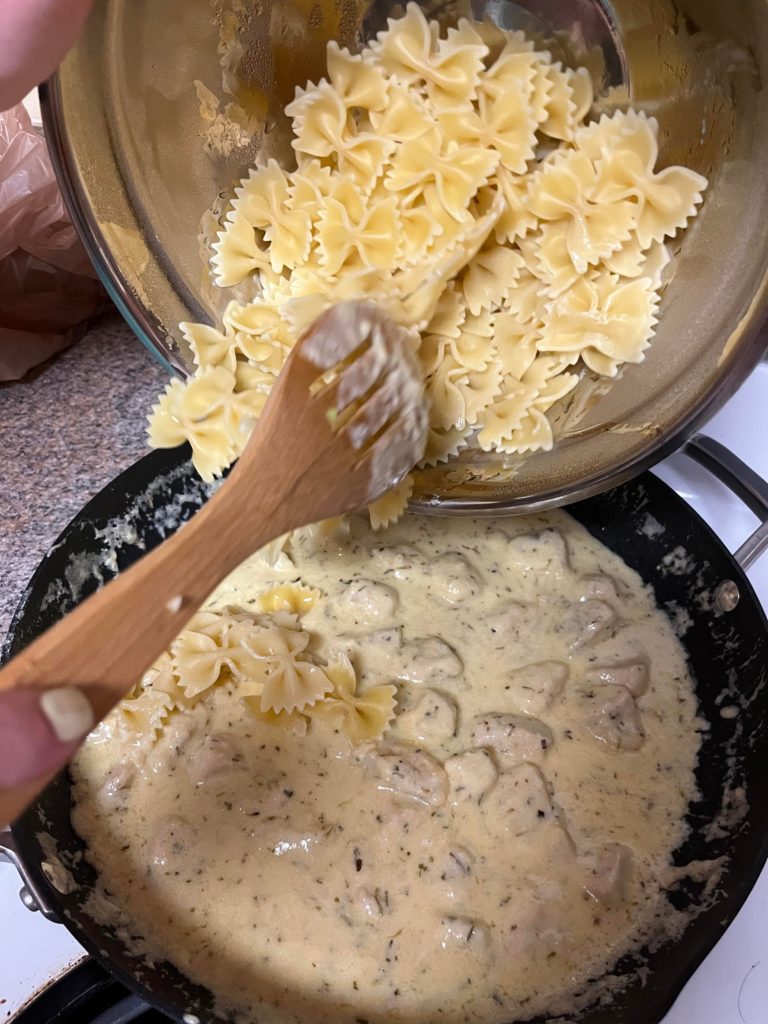
  • Place a large skillet over medium heat. Add 1/2 cup of oil olive on skillet and once oil is warm, place the chicken on it to cook. Cook for about 5 minutes while flipping the pieces. Once done, remove the chicken and place it in a medium bowl.

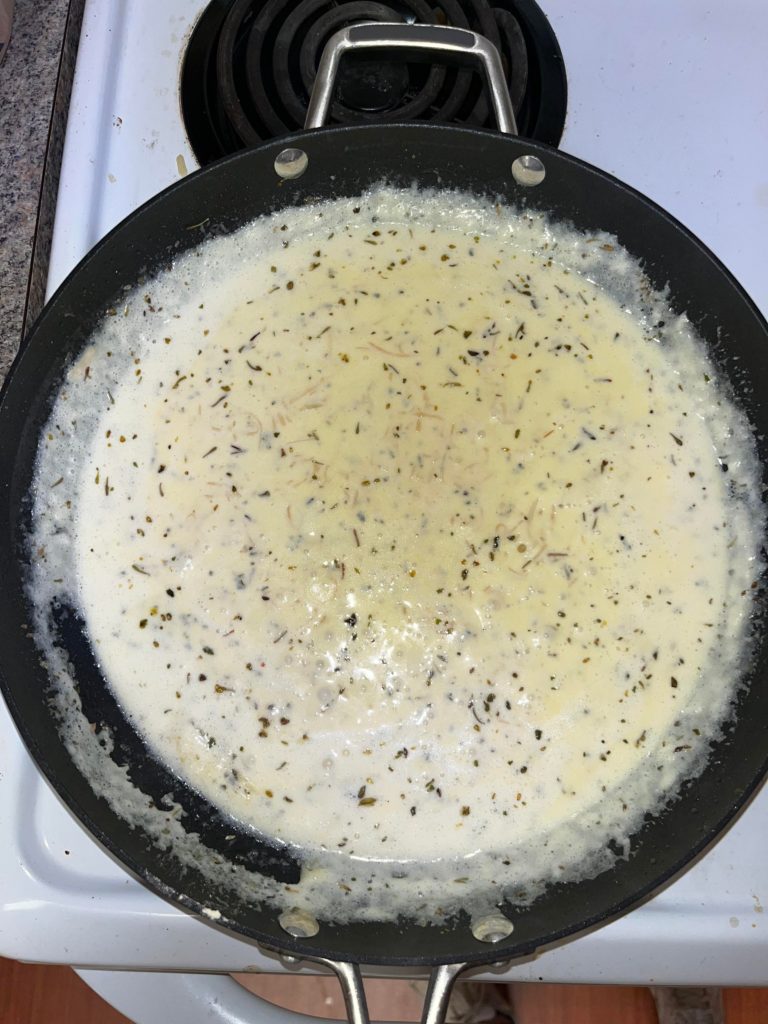
  • Without cleaning the pan, place the 1/2 cup of butter to the pan on low heat. Once melted, add 1 3/4 cups heavy whipping cream to the pan and gently stir together. Add 1/2 teaspoon of minced garlic, 1 teaspoon of Italian seasoning, and a pinch of salt to the mixture. Bring to a simmer for about 2 minutes.

  • Add 1 1/2 cups grated parmesan cheese into the pan, mixing it with the butter and heavy whipping cream. Combine cooked chicken and baby spinach leaves to the sauce. Continue to stir until spinach is soft.
  • Serve hot in bowls and top with pepper and salt.

Ratings of the meal:

Taste: 9/10 savory, tasty

Mouth feel/consistency: 8/10 creamy, hot

Smell: 9/10 Garlicy, Savory, Aromatic

Visual appeal: 7/10 Has some color, Bowtie pasta makes a fun look

Creativity: 7/10

  • The alfredo sauce was made from scratch
  • Spinach was added instead of broccoli
  • Bowtie pasta was used with the alfredo sauce

Comments Off on Foodies: Chicken Alfredo Pasta with Spinach

Crafty Cuisine Quartet- Cherry Glazed Pork

May 30, 2019

Sweet summer-time has arrived and so has our Cherry Glazed Pork! Our final dish contains a mix that even picky eaters couldn’t pass up- from the salty crunch of our sautéed green beans to the sweet slice of our homemade cherry glaze, fuel your appetite with our delicious dish. In preparing our meal, we began with pork tenderloins- pan seared and prepped for the oven. Next, we sautéed fresh green beans with just the right amount of spice. Finally, we hand-mashed golden potatoes- with a little butter, salt, and a whole lot of finger-licking-good.
Cherry Glazed Pork: Serves 6

Prep time- 45 min-1 hour

Ingredients:

Pork Tenderloin Prep:

  • Place 2-3 1 1/2 lb. pork tenderloins on a baking sheet
  • Remove all fat by gently skimming a knife across the sides and surface of the pork
  • After all fat is removed (or as much as desired), generously sprinkle salt and red pepper flakes on both sides of the pork
  • When the tenderloins have been seasoned, place the meat in a skillet to pan sear on medium-high heat
  • After all sides are a golden brown, prepare to transport the pork from skillet to oven
  • Once the meat has been placed in the oven, allow the pork to cook at 425 degrees for 25-30 minutes or until internal temperature has reached 16o degrees internally

Green Bean Prep:

  • Gently clean 2lbs of green beans by allowing cool water to wash the beans for 30 seconds
  • After washing the green beans, remove the ends by slicing with a small kitchen knife
  • Next, place the green beans in a zip-lock bag and add 1 tsp of salt and 1 tsp of pepper
  • After adding in the salt and pepper, simply seal the bag and give the beans a good shake for roughly 30 seconds
  • Then, heat up the small skillet by turning the burner to medium-high heat
  • Add 2 tbsp of olive oil to allow the beans to sautée
  • Once the pan is heated, gently dump the beans into the skillet and occasionally stir until they begin to slightly brown
  • Add 3 Tbsp of minced garlic
  • If desired, additional salt/pepper can be added once the beans are in the pan
  • Once the beans are a bit softer and seem to be turning a slight brown, this will indicate that the beans are ready!

Mashed Potato Prep:

  • Begin by washing and peeling each potato from two 5 lbs bags of white potatoes
  • After potatoes have been washed and peeled, dice each potato into medium sized pieces to allow for quicker cooking
  • As the water comes to a boil, add 5 tbs of salt to allow for flavorful cooking
  • When the potatoes have been diced, carefully place the potatoes into boiling water (high heat) and allow them to sit- occasionally stirring
  • To test if the potatoes are ready, carefully select one potato dice with a cooking spoon and poke it with a fork to determine the softness
  • If soft, the potatoes are ready to be mashed! If they’re still hard, allow them to boil for a few more minutes
  • When the potatoes are finally soft, grab your strainer and be prepared!
  • After placing the strainer in the sink, gently dump your softened potatoes into the strainer and allow for excess water to drain
  • After rinsing the pot that contained the potatoes, place the potatoes back in the pot and mix in 1 cup butter, 2 cups milk, and 2 tbs of minced garlic
  • Once all ingredients have been added, begin mashing potatoes as the ingredients begin to blend
  • Once mashed, stir in all excess ingredients until desired consistency

Cherry Glaze Prep:

  • Place 3 cups of pitted cherries, 6 Tbsp. of brown sugar, 3 Tbsp of soy sauce, 3 tsp. of cornstarch, and 1 1/2 cups of water in a pot over medium heat.
  • Stir mixture together and bring to a boil.
  • Once boiled, turn to simmer and give the cherries a gentle mash to let out the natural juices.
  • Let simmer for 8 minutes and set aside.
  • Once tenderloin is done and rested, plate and pour glaze over the tenderloin and serve.

Ratings:

  • Mouthfeel/Consistency-10-the pork was tender and juicy while the cherries added an extra texture component
  • Visual-10-it was so pretty we almost didn’t want to eat it but feel it belongs in a restaurant
  • Creativity-9-overall creative but the sides could’ve been a little more diverse
  • Smell-10-the smell from the cherry glaze was the icing on the cake for this dish
  • Taste-10-the juices from the cherries bouncing off of the juices from the tenderloin was satisfying

Comments Off on Crafty Cuisine Quartet- Cherry Glazed Pork

Chop It Like It’s Hot- Zucchini Burrito

May 29, 2019

Zucchini Burrito

Spice up your Mexican dinner nights with zucchini burritos. This dish contains a unique mix including quinoa and ground turkey. If your family is not a fan, these can be substituted with rice and ground beef. The zucchini shells is a healthier option than using a tortilla shell. Also, using a zucchini for the shell makes this a great gluten free option. This recipe is designed to feed 5 people.

Ingredients:

  • 5 large Zucchinis (diced in half)
  • 1 cup Ground Turkey Meat
  • 15 oz can Black Beans
  • 2 cup Quinoa (cooked)
  • 1 cup Medium Salsa 
  • 1 Red Bell Pepper (diced)
  • 1/2 Sweet Onion (diced)
  • 1/2 cup Sweet Canned Corn
  • 2 handfuls Mexican Blend Cheese (roughly 1/2-1 cup)
  • 2 tsp Red Pepper Flacks
  • 1 tsp Garlic Powder
  • 2 tsp Chilli Powder
  • 2 tsp Cumin
  • Salt to taste
  • Pepper to taste

Step by Step:

*Prep time roughly 40-45 minutes*
  • Prep of the Zucchini
    • Wash the zucchini
    • Cut the stem of the zucchini off
    • Cut the zucchini in half long way
    • Get a spoon and take all the seeds out of the middle making a hollow shell
    • Sprinkle with a pinch of salt and place on a cookie sheet
      • DO NOT oil the zucchini! 
  • Prep of the Quinoa
    • Boil two cups of water
    • Once the water comes to a boil, place one cup of raw quinoa in the boiling water
    • Allow the quinoa to stay on the burner for around two minutes
    • Remove from the burner and place a lid on the pot
    • Once the quinoa is soft and has absorbed all the water, it is complete
    • Add 1/2 tsp of salt
  • Prep of the Filling
    • Place the diced pepper and onion in a skillet
    • Cook until the veggies begin to look a little softer
    • Add the ground turkey meat
    • Continue cooking until the onions look a little brown and the meat is finished
    • Add the red pepper flakes, garlic powder, chili powder, cumin, salt and pepper
    • Lower the heat of the burner to around medium/low
    • Drain and add the black beans
    • Drain and add the corn
    • Mix and allow the beans and corn to become warm
    • Lower the heat to low
    • Add the quinoa, salsa, and cheese
  • Prep of the Burrito
    • Take one half of the zucchini
    • With a spoon add the stuffing along the whole zucchini
    • Each hollowed zucchini may require a different amount of filling. The measurement is a personal preference. We recommend until the filling is level or a little above the shell.
    • Once filled, place in the oven for roughly 20-25 minutes on 400 degrees

Ratings: 1-10 (10 being the best)

  • Taste-  10  This dish has such a unique taste. The filling is to die for and could be eaten alone it is so good. The zucchini shell is very interesting. It adds a nice little crunch.
  • Mouth Feel/Consistency-  10  Like mentioned before the crunch of the zucchini is very pleasant. Also, the filling has the beans and the corn that also adds a little bit of texture to the burrito.
  • Smell-  10  The smell of the filling is out of the world. When the mix is being made on the stove, the aroma fills the whole room. It smells amazing.
  • Visual Appearance-  9   The burrito filling its self is very brown based. There is some color contrast with the black beans and the yellow corn. Also, there is the pop of red from the salsa. The green zucchini really helps makes this meal look more appealing.
  • Creativity-   10   Using zucchini shells instead of tortilla shells makes the a gluten free option. Also, the shells make this meal a very unique Mexican dish most would not think of.
Comments Off on Chop It Like It’s Hot- Zucchini Burrito

Team Alpha’s Savory Shrimp Tacos

May 29, 2019

Our final dish of the course is a well-know classic: shrimp tacos! However, ours have tons of unique ingredients that make our dish a little bit healthier but equally as tasty as your traditional fried shrimp taco! Instead of frying our shrimp, we decided to saute ours in a pan and load our tacos with a variety of yummy and colorful toppings, like our homemade mango coleslaw, guacamole, and cilantro lime sour cream dressing! Our shrimp tacos are quick and easy to whip up any day of the week! There’s also a lot of room for creativity in this one– choose your own favorite toppings and make it your own!

Savory Shrimp Tacos (serves 5-6)

Ingredients:

  • Shrimp Taco Base:
    • 6 slices of hickory smoked bacon
    • 2 pounds of raw peeled and deveined shrimp
    • 2 tablespoon of paprika
    • 1 tablespoon of red pepper flakes
    • 1 tablespoon of cumin
    • 1/2 tablespoon of garlic powder
    • 3 cloves of garlic, minced
    • Juice from 1 lime
    • Juice from 1/2 of a lemon
    • 3 tablespoons of fresh cilantro, chopped
    • 1- 10 count package of taco shells
  • Guacamole:
    • 2 avocados, sliced
    • 2 teaspoons of garlic powder
    • 3 tablespoons of lime juice
    • 1 tablespoon of lemon juice
    • 2 tablespoons of fresh cilantro
  • Mango Coleslaw:
    • 1 mango, diced
    • Juice from 1/2 lemon
    • Juice from 1 1/2 lime
    • 1/2 head of red cabbage, thinly sliced
  • Cilantro and Lime Sour Cream Sauce:
    • 16 ounces of sour cream
    • Juice from 1 1/2 limes
    • 1/4 cup of cilantro, chopped
  • Garnish:
    • Mexican blend cheese, shredded
    • Avocado, sliced

Instructions:

  1. Heat large skillet on medium-high heat.
  2. Cut bacon slices in half. Lay pieces flat in the hot skillet. Cook the bacon until browned on one side. Flip each piece over and continue to cook until both sides are crispy. Remove from the pan and place on a paper towel covered plate, leaving the left over grease in the pan. Once cool, chop the bacon into small pieces. Set aside.
  3. Cut the tails off of the shrimp. Discard the tails and rinse the shrimp thoroughly. Pat dry with a paper towel and place the shrimp in a large bowl. Add the paprika, red pepper flakes, garlic, cumin, garlic powder, juice from 1 lime and half of a lemon, and roughly 3 tablespoons of the fresh cilantro. Toss the shrimp in the spices until evenly coated.
  4.  Add the shrimp to the skillet that contains the left over bacon grease. Cook, stirring and flipping frequently, until the shrimp turn pink on both sides– roughly 7 minutes. Once cooked, spoon the shrimp into a medium-sized bowl and set aside. Discard the left over bacon grease.
  5. In a small bowl, add diced mango, lemon and lime juice, and red cabbage. Stir together and set aside.
  6. Open the tub of sour cream. Add the juice from 1 1/2 limes and 1/4 cup of fresh cilantro to the sour cream. Stir together.
  7. In a small bowl, stir together the avocado, garlic powder, lime juice, lemon juice, and cilantro until combined and relatively smooth. Set aside.
  8. In a clean skillet, heat up one taco shell. Remove once hot and place on plate. Add as much shrimp, bacon, coleslaw, guacamole, sour cream, cheese, and additional avocado as you see fit and enjoy!
  9. Store any leftovers in the refrigerator in air-tight containers. Our tacos are delicious reheated!

Ratings:

  • Taste: 9
    • Our tacos were jam packed with tons of flavor– full of umami with some added sweetness from the mangoes!
  • Consistency: 10
    • Our tacos had tons of different textures all loaded into one shell! The sour cream and guacamole provided a smooth and creamy addition to the crispness of the coleslaw and bacon, as well as the meaty texture of the shrimp.
  • Smell: 9
    • Even though there was a whole lot going on with our dish and its toppings, the kitchen smelled super good as we were cooking! The only downfall was maybe it was a little bit overwhelming with the different smells from the separate toppings we were working on at one time.
  • Visual Appeal: 10
    • Our tacos were super bright and colorful!
  • Creativity: 8
    • Though tacos are a pretty common dish, we put a lot of our creations into our recipe! Instead of using ground beef, we chose shrimp and loaded our tacos with many colorful and healthy ingredients, along with a unique array of spices that was unique to each topping!


Comments Off on Team Alpha’s Savory Shrimp Tacos

Chef Dropouts – Three Layer Oreo Cake

May 29, 2019


As a team, we have prepared a myriad of dishes including foods that would typically be eaten for breakfast, lunch or dinner. Therefore, to round out our cooking experience, we thought it was fitting that we try to prepare a dessert for our final project. We decided to design a tasty cake for the class to enjoy. With that said, we created a three layer cake incorporating flavor pairings from the food bible.  Two layers of the cake are chocolate and the middle layer is vanilla, mimicking the appearance of a large oreo cookie. In between each layer, we added a nice oreo cream filling. For the top of the cake, we chose strawberries, raspberries, and blueberries because they compliment both chocolate and vanilla flavors.  And of course, our last step was to add some whip cream.


Ingredients

Cake mix

2 boxes of Betty Crocker German chocolate cake mix

1 box of Betty Crocker French vanilla cake mix

3 ¼ cups of water

1 ½ cups of vegetable oil

9 eggs

Oreo Filling:

2 sticks of butter

3 cups of powdered sugar

2 teaspoons of vanilla extract

2 tablespoons of milk

1 cup of strawberries

1 cup of blackberries

1 cup of blueberries

Vanilla Icing

1 Can of Whipped cream 

Ice cream

Vanilla

Directions

Part 1: Cake Mix

  1. Preheat the oven to 350 degrees
  2. Get 3 cake pans and spray with vegetable oil

(Repeat the following steps for each cake mix) (2 Chocolate, 1 Vanilla)

  1. Pour the cake mix, ½ cup of vegetable oil, and 3 eggs in a large bowl. Use a mixer on medium speed or beat vigorously by hand for 2 minutes.
  2. once the mix is at the desired consistency, pour each mix into a separate baking pan
  3. Bake in oven for 25-30 minutes

Part 2: Prepare Oreo Cream Filling (While the cakes are cooking)

  1. In a bowl, beat softened butter with mixers for 3 minutes
  2. In the same bowl, mix a ½ cup of powdered sugar into bowl at a time, until all 3 cups have been mixed in.
  3. Next, add 2 teaspoons of vanilla extract and 2 teaspoons of milk
  4. On a cutting board, crush up 10 Oreo cookies and mix into bowl with the rest of the ingredients
  5. When the cakes are done baking, place a toothpick in the center of the cake and make sure it comes out clean, if it does, the cake is ready to cool.
  6. Let cakes cool for 10 minutes before removing from pan

 Part 3: Prepare Fruit

  1. Wash the strawberries, blueberries, and blackberries
  2. Pour blueberries and blackberries into a bowl
  3. Grab a cutting board and slice strawberries in either halves or quarter slices (depending on size of strawberry)

 Part 4: When cakes are done baking

  1. When cakes are done baking, let them cool for 10 minutes before removing from pan, also, let cakes cool completely before frosting
  2. With a knife, ice the first chocolate cake with oreo frosting. Next, place the vanilla cake on top of the chocolate cake and ice with oreo frosting, then place the remaining chocolate cake on top.
  3. Using a knife, ice the top and outside of cake with vanilla frosting
  4. Decorate the top of the cake with ½ cup of crumbled Oreos and fruit mix


 Ratings

 Taste: 9/10

  • Was so delicious but could have used some more Oreo filling

Mouth Feel/consistency: 9/10

  • The cake was very moist, and the fruits and crumbled Oreos added a little crunch

Smell:  8/10

  • It was an amazing smell, however, it didn’t have a super unique aroma

Visual Appeal: 6/10

  • While it was scrumptious, we should have let the cakes cool longer, or put them in the fridge so they won’t fall apart.

Creativity:  7/10

  • While cake is a rather traditional dessert item, our cake was unique as it adhered to an Oreo flavor profile and also looked like an Oreo in appearance.

Video link;https://www.youtube.com/watch?v=ArBkoJRB-Rw&t=82s


Comments Off on Chef Dropouts – Three Layer Oreo Cake

Theory of Mind – Cordon Bleu with Dijon Cream Sauce

May 29, 2019

Feeling a bit fancy? Try out our own version of Cordon Bleu at the comfort of your own home! This dish features a black forest ham, prosciutto, and swiss stuffed chicken breast over a bed of al dente fettuccine noodles. Also, don’t forget the mixed vegetable blend with our homemade dijon cream sauce to top it all off! Enjoy this dish with your loved ones and treat yourselves with our Cordon Bleu today!

Ingredients

  • 2 cloves of Garlic
  • 1/2 Sweet Onion
  • 1 head of broccoli
  • 2 large chicken breast
  • 1 box of Fettuccine
  • 1 container of sliced baby bellas (8oz.)
  • 1 container of seasoned bread crumbs (15oz.)
  • 7 Tbsp of all purpose white flour
  • 3/4 stick of  salted butter
  • 16 oz of heavy whipping cream
  • 8 oz black forest ham
  • 2 bags of Shredded Swiss cheese
  • 4 oz of Prosciutto
  • 1/2 pound of bacon


Directions:

  1.  Preheat oven to 350 Degrees F
  2. Mince garlic
  3. Dice onions into 1/4in cubes
  4. Cut all fat off the chicken and cover it in saran wrap. Proceed to pound out the chicken.
  5. After tenderizing the chicken, fill each flattened chicken breast with a piece of ham, prosciutto, and 2 tablespoons of Swiss cheese.
  6. Continue by rolling up the chicken and keeping them in place by inserting toothpicks.
  7. Place chicken in the preheated oven for 30min, (check periodically)
  8.  In a medium pot, begin making the roux by combining 7 Tbsp of flour and 3/4 stick of butter on low heat. Afterwards, add 16 oz of heavy whipping cream into the roux.
  9. In a separate sauce pan combine the bacon, broccoli, onions, and garlic. This will be done over medium heat.
  10. To make creamy mustard sauce: 1 cup of swiss cheese, pint of heavy whipping cream, 4oz of dijon mustard and season with basil, oregano, rosemary, salt and pepper (flavor to taste*) *Keep stirring
  11. Combine the creamy sauce to the pan with the bacon, broccoli, onions, and garlic. Put on low to medium heat to keep warm.
  12. Begin to cook pasta as directed on the box
  13. Once the pasta is finished, serve on plate (or bowl) with chicken on top and pour the sauce over the dish

How-To Video:

Rating:

Taste: 10

  •  Nice balance of flavors, not too mustard in sauce

Smell: 10

  • Smell of flavors really mixed well together

Visual:  9

  • The broccoli cooked into the creamy sauce made it turn a little green

Mouth: 10

  • All flavors balance really well, strong flavor, incredible

Creativity: 10

  • We were able to incorporate mustard into the sauce


Comments Off on Theory of Mind – Cordon Bleu with Dijon Cream Sauce

Pork Meatballs With Tropical Fried Rice – The Macaroons

May 28, 2019

Pork Meatballs With Tropical Fried Rice

This dish is a nice and re-freshing warm summers dinner that will take you on a trip to the tropical oceans of Hawaii. It includes savory pork meatballs with a splash of hoison and soy sauce on top of a sweet pineapple infused fried rice. You can cook this meal for your family’s evening dinner or for a friendly summer’s beach bash.

How-To-Video (Ingredients & Instructions are below)

Ingredients:

-1 lb ground pork

-1 Pineapple

-1 Fresh green onions

-1Tbsp of Fresh Ginger

-2 Cloves of Fresh Garlic

-2 eggs

-1/4 cup of Panko Crumbs

-1 Bell Pepper

-1 cup of Jasmine Rice

-3 Tbsp Hoison

-1 Tbsp Sesame Oil

-1 Tbsp Soy Sauce


Directions:

1.Chop Green Onion and separate the white and the green into 2 bowls

2. Mince Garlic and Ginger and add to the bowl with the white of the onion

3. Cook garlic, ginger, and onion whites on medium high until fragrant

4. Put pork, bread crumbs, 1 egg, and cooked aromatics into a large bowl. Mix thoroughly.

5. Form pork mixture into bite-sized balls and set aside.

6. Bring rice to a boil in a pot with 2 cups of water and cook until water is absorbed.

7. Cook meatballs until all sides are brown and meatballs are cooked through. Leave juices in the pan.

8. Dice bell pepper and pineapple (keep separate)

9. Add bell pepper to pan with pork juices and cook until slightly softened.

10. Add cooked rice, 1 egg, and diced pineapple to the pan with the bell pepper, mix thoroughly.

11. Mix Hoisin, Soy Sauce, and Sesame oil in a bowl.

12. Put fried rice onto a plate, top with meatballs and mixed sauces, garnish with the green part of the green onion.

13. Enjoy!!

Ratings:

-Taste: 7  The Meatballs were fantastic (9) while the rice was bland (4). The rice definitely needs more flavor.

-Mouth Feel/Consistency: 10 The rice was perfectly moist and the meatballs where very tender.

-Visual Appeal: 9 The dish all together looked very colorful; it illustrated the vibrant sunset over the tropical islands of Hawaii.

-Smell: 9 The smells of this dish mixed well together to produce both a sweet and savory aroma.

-Creativity: 10 This dish was entirely created from scratch as a result of mixing Asian cuisines with tropical Hawaiian flavors.


Comments Off on Pork Meatballs With Tropical Fried Rice – The Macaroons